Get the inside scoop on creating stunning short-form videos with affordable lighting solutions
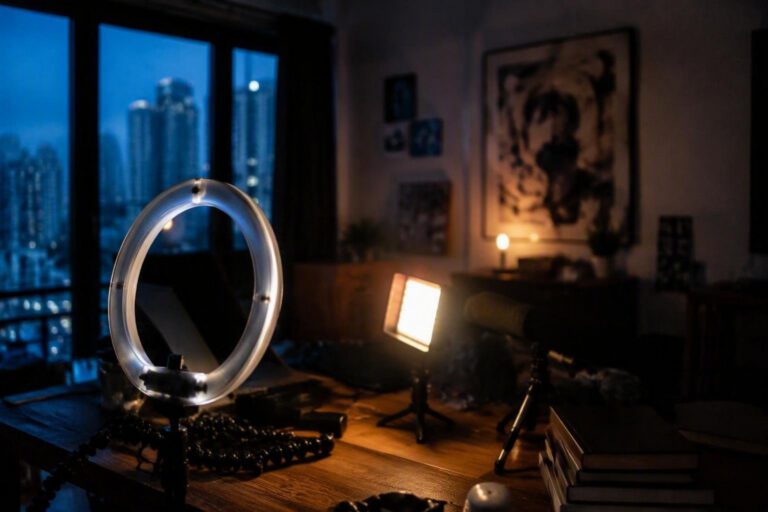
Short-form videos have taken the world by storm, with platforms like TikTok and Reels dominating the social media landscape. One key element that can make or break a video is lighting. Proper lighting can elevate your content, making it more engaging and professional.
In this guide, we’ll explore three budget-friendly lighting setups for faces, products, and POV shots using lamps and cheap LEDs.
Understanding color temperature and diffusion
When it comes to lighting, color temperature and diffusion are two crucial factors to consider.
Color temperature refers to the warmth or coolness of the light, with warm white (2700K-3000K) and cool white (3500K-5000K) being the most common. Diffusion, on the other hand, helps to soften the light, reducing harsh shadows and creating a more even illumination.
To achieve this, you can use diffusers or softboxes to filter the light.
Avoiding flicker and creating a compact kit
Flicker can be a major issue when using budget-friendly lighting setups. To avoid this, make sure to use flicker-free LEDs or high-frequency fluorescent lights. For creators filming in dorms and small flats, a compact lighting kit is essential. Consider investing in a portable LED panel or a mini softbox that can be easily set up and taken down.
Setup ideas for faces, products, and POV shots
For face lighting, a simple key light and fill light setup can work wonders. Place the key light at a 45-degree angle to the subject’s face, and the fill light on the opposite side to soften the shadows. For product lighting, a backlight and sidelight setup can help to create depth and dimension. For POV shots, a compact LED light or a phone light can be used to create a more intimate and immersive experience.
Tips for creating a professional-looking setup
To create a professional-looking setup, pay attention to the background and composition of your shot. Use a plain colored background or a pop-up backdrop to minimize distractions, and experiment with different angles and framing to add visual interest. Don’t be afraid to experiment and adjust your lighting setup as you go, and always keep an eye on the exposure and white balance to ensure the best possible results.